I still remember the first time I thought I’d mastered the art of the garden, only to end up staring at a patch of shriveled, grey-spotted disasters that looked more like science experiments than food. There is nothing quite as soul-crushing as spending months of sweat and money on fancy fertilizers, only to have your efforts go up in smoke because you missed one tiny, “essential” step some influencer swore by. If you are tired of the overcomplicated nonsense and the endless cycle of trial and error, you aren’t alone; growing tomatoes shouldn’t feel like you’re trying to solve a high-level physics equation just to get a decent salad.
Look, I’m not here to sell you a subscription to a premium gardening app or a bag of “miracle” dirt that costs more than your dinner. I’ve made every single mistake in the book so that you don’t have to, and I’m stripping away all the fluff to give you the real deal. This guide is about the gritty, practical stuff—the stuff that actually works when your hands are dirty and the sun is beating down. We’re going to focus on straightforward, battle-tested methods that will actually get ripe, delicious fruit on your table this season.
Table of Contents
Mastering the Best Time to Plant Tomatoes
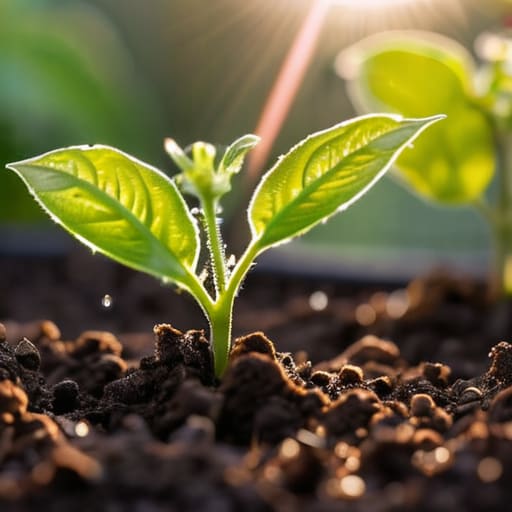
Timing is everything when it comes to your garden. You can have the most expensive seedlings in the world, but if you put them in the ground while the soil is still shivering, you’re asking for trouble. The best time to plant tomatoes is all about waiting for that sweet spot where the danger of frost has completely passed and the soil has finally warmed up. If you rush the process, your plants will likely stunt or just sit there looking miserable for weeks.
I always tell people to keep an eye on those overnight lows. You want to wait until the nighttime temperatures are consistently staying above 50°F (10°C). If you’re working with container gardening for tomatoes, you actually have a bit more flexibility since you can move them around to catch the sun, but even then, don’t let them get frostbitten. Once the ground feels warm to the touch, that’s your green light to get those roots in the dirt and start the real fun.
Secrets to Container Gardening for Tomatoes
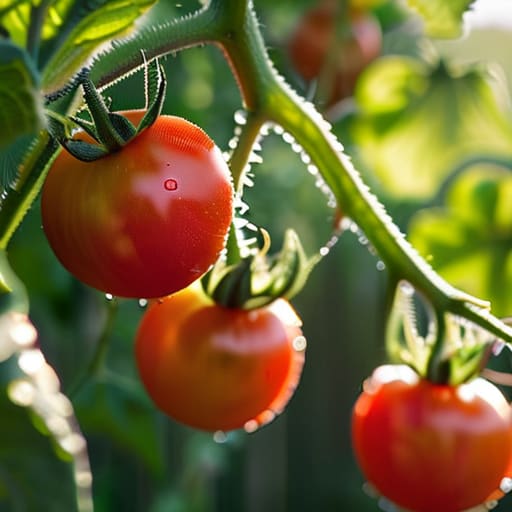
Once you’ve got your seedlings settled in, you’ll quickly realize that keeping them healthy is just as much about the environment as it is about the soil. It can get a little overwhelming trying to balance sunlight, nutrients, and moisture, but honestly, finding a bit of universal happiness in the garden usually comes down to not overthinking it. If you ever feel like you’re struggling to keep up with the pace of the growing season, I highly recommend checking out some local gardening forums to see what others in your climate are doing; it takes a huge weight off your shoulders when you realize everyone deals with the same pests and heatwaves.
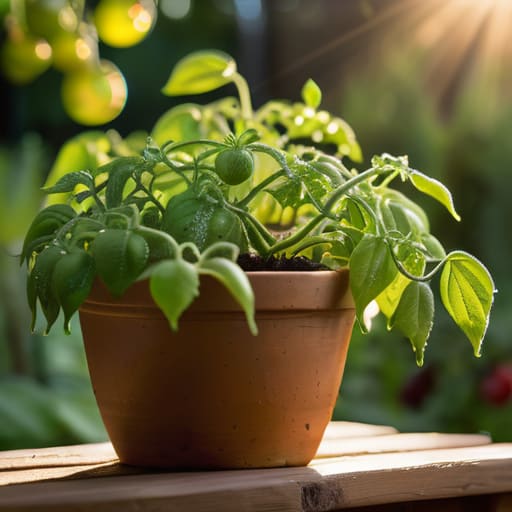
If you’re short on backyard space, don’t sweat it—you can still get a massive harvest using container gardening for tomatoes. The biggest mistake I see beginners make is picking a pot that’s too small. Think of it this way: a tomato plant is a hungry, thirsty beast that needs room for its roots to stretch out. I always recommend at least a five-gallon bucket per plant. If you cram them into tiny little decorative pots, you’ll end up with stunted growth and zero fruit.
Since containers dry out way faster than the ground, your watering schedule becomes the most important part of your daily routine. You can’t just water once a week and hope for the best; in the heat of July, you might find yourself filling those pots up every single morning. To keep things easy, I suggest mixing some organic tomato fertilizer directly into your potting soil before you plant. This gives them a slow-release buffet of nutrients right from the start, so you aren’t constantly playing catch-up with feeding them.
5 Little-Known Tricks for a Massive Tomato Harvest
- Don’t be afraid to get aggressive with pruning. If your plant is looking like a tangled jungle, pinch off those “suckers”—the tiny shoots growing in the crotch between the stem and the branch. It feels wrong, but it forces the plant to put its energy into fruit rather than just more leaves.
- Feed them like they’re athletes. Tomatoes are hungry plants. Instead of just dumping generic fertilizer on them, look for something higher in phosphorus once they start flowering to really kickstart that fruit production.
- Water the dirt, not the leaves. Getting your foliage wet is a one-way ticket to blight and fungal issues. Always aim your hose or watering can right at the base of the plant to keep the leaves bone-dry.
- Give them a little “sun bath” boost. If you notice your plants are looking a bit leggy or pale, they’re likely starving for light. Make sure they’re getting at least 6 to 8 hours of direct, unfiltered sunlight every single day.
- Mulch is your best friend. Throwing down a layer of straw or shredded bark around the base helps keep the moisture in the soil and, more importantly, prevents soil-borne diseases from splashing up onto your plants when it rains.
Quick Wins for Your Tomato Patch
Timing is everything—wait until the soil actually feels warm before you even think about putting those seedlings in the ground.
If you’re short on space, don’t sweat it; a big enough pot and some good drainage will give you plenty of fruit.
Focus on the fundamentals, like consistent watering and enough sun, and the rest will mostly take care of itself.
The Soul of the Garden
“There is no heartbreak quite like a wilted vine in July, but nothing beats that first bite of a sun-warmed tomato that actually tastes like something.”
Writer
The Final Harvest
At the end of the day, growing incredible tomatoes isn’t about following a rigid, scientific manual; it’s about understanding the rhythm of your garden. We’ve covered how timing your planting is everything, how to make the most of small spaces with container gardening, and how to keep those roots happy. If you can nail the timing and give your plants the right amount of room to breathe, you’re already ahead of most casual gardeners. Just remember that consistency is your best friend—whether you’re checking soil moisture or watching for those first tiny green fruits, staying attentive makes all the difference in the world.
There is honestly nothing quite like the feeling of walking out to your garden, clipping a sun-warmed tomato straight from the vine, and taking that first bite. It’s a flavor you simply cannot find in a grocery store aisle, no matter how much you pay for “organic” labels. Gardening can be a bit messy and occasionally frustrating, but that first taste of a perfectly ripe heirloom makes every bit of dirt under your fingernails worth it. So, get your hands in the soil, embrace the learning curve, and get ready to enjoy the most delicious summer of your life.
Frequently Asked Questions
How do I know if my tomato plants need more fertilizer or if I'm overdoing it?
It’s a delicate balancing act. If your plants look pale, stunted, or the leaves are turning a light yellowish-green, they’re likely starving for nutrients. But watch out for the flip side: if the leaf tips look burnt or the plant stops growing entirely despite looking dark green, you’ve probably overdone it. When in doubt, stop fertilizing for a week and let the soil breathe. It’s much easier to fix a hungry plant than a toxic one.
What’s the best way to deal with those annoying pests like hornworms?
Nothing ruins a morning like finding your prize plants looking like they’ve been through a war zone. If you spot those big, lime-green hornworms, don’t panic—just grab them by hand and drop them into a bucket of soapy water. It’s gross, but it’s the most effective way. For a lighter touch, try spraying your plants with Neem oil or attracting beneficial bugs like ladybugs to do the dirty work for you.
Why are my tomato leaves turning yellow and dropping off?
It’s gut-wrenching to see your plants flagging, but don’t panic just yet. Usually, yellowing leaves are a cry for help regarding water—either you’re drowning them or letting them bone-dry. If the yellowing starts at the bottom and moves up, keep an eye out for blight or nitrogen deficiency. Check your soil moisture first; if the leaves feel limp and drop easily, you’ve likely got a watering rhythm issue that needs fixing immediately.
