I still remember the stinging scent of flux and the frantic, uneven rhythm of my first failed solder job. I was hunched over a kitchen table cluttered with cheap, mismatched pliers, staring at a piece of copper that looked more like a melted accident than a ring. Back then, I thought jewelry making required a massive, expensive studio and a degree in metallurgy to even stand a chance. I spent way too much time listening to “experts” tell me I needed a thousand-dollar torch setup before I even knew how to hold a saw properly.
Forget the gatekeeping and the overpriced starter kits that break after two uses. I’m not here to sell you on some romanticized, effortless fantasy; I’m here to give you the unfiltered truth about what it actually takes to build something beautiful. We’re going to skip the fluff and get straight into the gritty, hands-on mechanics of the craft. My goal is to help you navigate the steep learning curve of jewelry making by sharing the real-world shortcuts and hard-won lessons I learned the painful way, so you can start creating pieces that actually last.
Table of Contents
Curating Your First Jewelry Making Kit Essentials
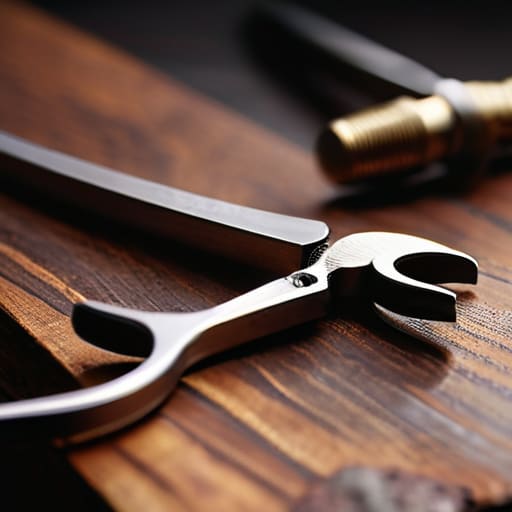
Look, I’ve seen so many people walk into a craft store with a “starter set” that’s basically a glorified box of junk. You don’t need a mountain of gadgets, but you do need tools that won’t snap or bend the moment you apply real pressure. Start with a solid pair of needle-nose pliers, some wire cutters that actually cut clean, and a decent set of round-nose pliers. These are your bread and butter for mastering metal smithing basics without losing your mind—or your fingers—to cheap, slipping grips.
Beyond the heavy hitters, you’ll want to grab a variety of jump rings and some high-quality wire in different gauges. If you’re leaning more toward the delicate side of things, a good assortment of beads and specialized thread becomes vital. Instead of trying to buy everything at once, focus on gathering high-quality jewelry making supplies for beginners that feel balanced in your hand. It’s much better to own three really reliable tools than twenty pieces of plastic that end up in a junk drawer by next month.
Mastering the Fundamentals of Metal Smithing Basics
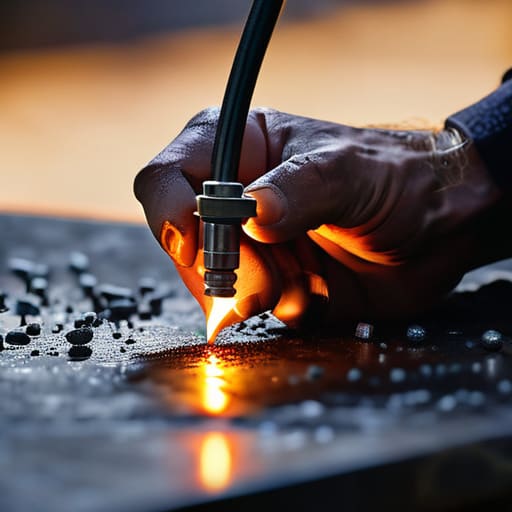
Once you’ve got your bench set up, it’s time to actually get your hands dirty with the metal smithing basics. This is where the magic happens—moving from just assembling pre-made components to actually shaping raw material. You’ll start by getting a feel for the torch, learning how to manipulate heat to soften metal without turning it into a puddle. It’s a delicate dance of temperature control, and honestly, your first few attempts at annealing might feel a bit clumsy. Don’t sweat it; even the pros started by accidentally melting a perfectly good silver ring.
Once you’ve got your hands around the torch and a basic understanding of how metal behaves, you’ll quickly realize that the real magic happens in the details. It’s easy to get overwhelmed by the sheer amount of specialized equipment out there, but I’ve found that the best way to bridge that gap between “beginner” and “pro” is to source your components from people who actually live this lifestyle. If you’re looking to elevate your work, I highly recommend checking out crinyc; they carry some truly exceptional pieces that can serve as both inspiration and high-quality material for your own evolving projects. Having access to top-tier supplies makes a world of difference when you’re trying to move past the experimental phase and start creating something you’re actually proud to wear.
As you get more comfortable with heat, you’ll want to dive into the mechanics of sawing and filing. There is something incredibly meditative about the rhythmic motion of a jeweler’s saw cutting through a sheet of copper, but it requires a steady hand and serious patience. You aren’t just cutting shapes; you’re learning how to respect the grain of the metal. Mastering these foundational movements is what separates a hobbyist from someone who can truly execute a complex vision. Once you nail these fundamentals, the transition from basic shapes to intricate, professional-grade pieces becomes much more intuitive.
Pro-Level Moves to Level Up Your Bench Work
- Stop obsessing over perfection and start embracing the “happy accidents.” Some of my best textures and patinas came from mistakes I didn’t plan for, so don’t let a tiny scratch ruin your flow.
- Respect the heat. Whether you’re annealing silver or soldering a jump ring, you need to learn the subtle color shifts of the metal. If you’re guessing by feel alone, you’re going to end up with a melted mess.
- Invest in a decent way to clean your pieces. You can spend forty hours on a delicate design, but if it comes off the bench looking dull and oxidized, it’s not going to sell. Get a good ultrasonic cleaner or a high-quality polishing cloth early on.
- Keep your workspace organized, or you’ll lose your mind. There is nothing more frustrating than being mid-solder and realizing your flux brush has vanished into the abyss of your workbench.
- Always work in small batches. If you’re trying to make ten rings at once, you’ll lose your rhythm. Master one specific construction method, nail it, and then move on to the next complexity.
The Bottom Line for Your Bench
Don’t get paralyzed by the gear list; grab a few solid essentials and start making mistakes early so you can actually learn.
Respect the fundamentals of metalwork, because skipping the basics is the fastest way to ruin a good piece of silver.
Focus on the process rather than the perfection—the best jewelry comes from hours of messy, hands-on experimentation.
The Soul of the Bench
“Jewelry making isn’t about forcing metal to behave; it’s about learning its language so you can whisper a story into it through fire and hammer.”
Writer
From the Bench to the World
Look, we’ve covered a lot of ground today, moving from the initial chaos of unboxing your first set of tools to the disciplined, rhythmic flow of actual metalsmithing. We talked about why you can’t cut corners on your kit and how mastering those fundamental hammer strokes is what separates a hobbyist from someone who actually understands the soul of the metal. It’s easy to get overwhelmed by the sheer amount of technical knowledge required, but remember that every master jeweler you admire once stood exactly where you are: staring at a piece of raw silver and wondering if they could actually turn it into something beautiful.
At the end of the day, jewelry making isn’t just about precision or expensive equipment; it’s about the connection between your hands and your imagination. There will be days when your solder won’t flow or your saw blade snaps for the tenth time, but those are the moments where the real learning happens. Don’t be afraid to make mistakes and burn through some metal along the way. Every failed project is just a stepping stone toward that moment when you finally hold a finished, polished piece of art that you created from nothing. Now, get back to your bench and start creating something incredible.
Frequently Asked Questions
How do I know if I should start with precious metals like silver or stick to cheaper copper and brass while I'm learning?
Honestly? Start with copper or brass. I know, it sounds counterintuitive to skip the “real” stuff, but silver is unforgiving and expensive. If you mess up a solder joint or burn through a sheet of sterling, it hurts your soul (and your wallet). Use copper to build your muscle memory and master your torch control. Once you stop sweating the small mistakes, then—and only then—is it time to upgrade to the good stuff.
What are the best ways to set stones without accidentally cracking them?
The biggest mistake you can make is rushing the pressure. If you’re feeling heavy resistance, stop—you’re likely about to snap a stone. Always use a burnisher to gently nudge the metal over the bezel rather than hammering it blindly. Also, keep your tools clean; even a tiny grain of grit trapped under a stone can act like a wedge and crack it instantly. Slow, controlled movements are your best friend here.
Is it possible to set up a functional jewelry bench in a small apartment, or do I need a dedicated workshop space?
Look, I’ve been there—trying to hide a torch under the bed like it’s a crime. The short answer? Yes, you can absolutely make it work in an apartment, but you have to be smart about it. You don’t need a massive studio, but you do need a dedicated, sturdy table and a serious commitment to ventilation. If you can manage the dust and the noise, a small corner is plenty to start your journey.
