It’s 3:00 AM, and that rhythmic, maddening plink… plink… plink… is echoing through the silent house like a hammer against an anvil. I used to think a leaky faucet was just a minor nuisance, something I could ignore until the next time I had a free weekend, but I was dead wrong. That tiny, persistent drip isn’t just a sound; it’s a slow-motion robbery of your water bill and a constant drain on your sanity. I spent way too many nights staring at the ceiling, wondering if I should call an expensive plumber or just move houses entirely.
The good news is that you don’t need a professional toolkit or a degree in engineering to fix this. I’ve been through the trial and error so you don’t have to, and I’m stripping away all the complicated jargon to give you the straightforward truth. In this guide, I’m going to walk you through the exact, no-nonsense steps to silence that drip for good. We’ll tackle the tools you actually need and the simple fixes that work, ensuring you can finally enjoy a little peace and quiet without breaking the bank.
Table of Contents
Guide Overview
Tools & Supplies
- Adjustable wrench for loosening nuts
- Screwdriver for removing handles
- Allen wrench for set screws
- Replacement washers or O-rings (1 set)
- Plumber's grease (1 small tube)
Step-by-Step Instructions
- 1. First things first, you need to shut off the water. Go under the sink and find those little oval valves; turn them clockwise until they stop. If your sink doesn’t have local shut-off valves, you’ll have to head to the main water line for the whole house. Don’t skip this step, or you’re going to end up with a mini indoor swimming pool in your kitchen.
- 2. Once the water is off, go ahead and turn the faucet on to drain any leftover pressure and water sitting in the pipes. Grab a towel and toss it over the drain plug—this is a crucial pro tip to prevent those tiny, annoying screws from disappearing down the dark abyss of your plumbing.
- 3. Now, grab a screwdriver and start taking the faucet apart. You’ll likely need to pop off the decorative cap on the handle to reveal the screw underneath. Once you unscrew that and pull the handle off, you’ll see the inner workings of the beast. It might look intimidating, but just take it one piece at a time.
- 4. Most leaks are caused by a worn-out washer or an old O-ring that’s finally given up the ghost. Use a wrench to loosen the packing nut, then carefully lift out the stem or cartridge. Inspect the rubber parts closely; if they look cracked, flattened, or feel slimy, they are definitely the culprits behind your dripping nightmare.
- 5. Head down to your local hardware store and bring the old parts with you. Don’t try to guess the size based on a memory; plumbing parts are deceptively specific. You want to match the old, crusty washer with a brand-new, identical replacement to ensure a perfect seal.
- 6. Reassemble everything in the exact reverse order you took it apart. Thread the stem back in, tighten the packing nut (but don’t overdo it—you don’t want to crack the housing), and pop the handle back on. It’s basically like playing with adult LEGOs, just with more potential for a mess.
- 7. Finally, the moment of truth: slowly turn the water valves back on. Do it gradually to avoid a sudden surge of pressure. Watch the faucet closely to see if that infuriating drip has finally vanished. If it has, grab a celebratory coffee—you just saved yourself a plumber’s bill.
Essential Plumbing Tools for Faucet Repair
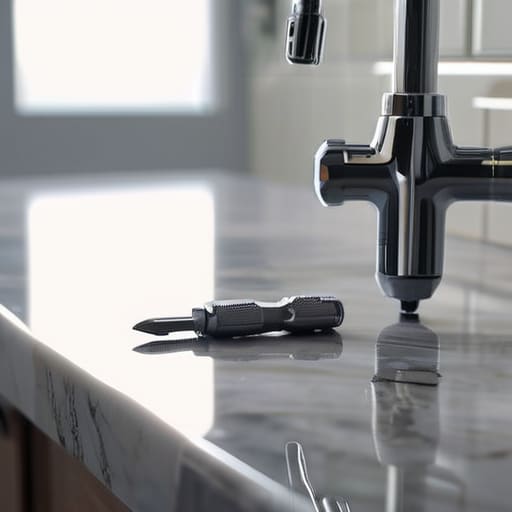
Before you dive in, don’t just grab whatever heavy metal objects are lying around the junk drawer. To successfully fix dripping kitchen sink issues without stripping your hardware, you need a few specific items. An adjustable wrench is your best friend here, but please, for the love of your countertops, grab a cloth to wrap around the nut first. This prevents that nasty scratching on your chrome finish. You’ll also want a set of precision screwdrivers—usually Phillips and flathead—because those tiny set screws hiding under the handle can be incredibly stubborn.
If you’re tackling a more complex faucet cartridge replacement, you might need a specialized cartridge puller depending on your model. It’s also a smart move to have a small container of plumber’s grease on hand; it makes the whole process much smoother. Don’t forget a pair of needle-nose pliers for those tricky bits. Honestly, having the right plumbing tools for faucet repair prevents that mid-project panic where you realize you’re stuck halfway through a disassembly with nothing but a butter knife and a prayer.
The Ultimate O Ring Replacement Guide
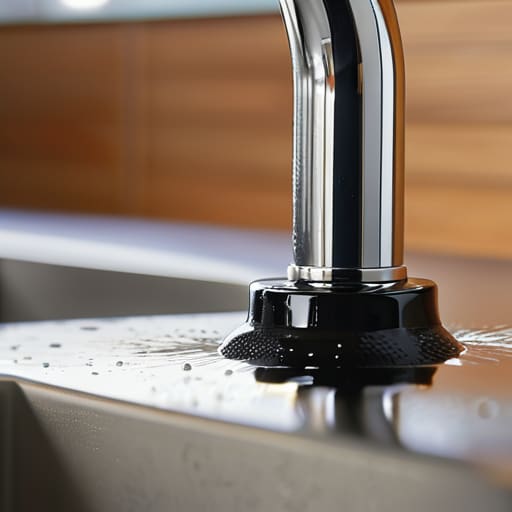
Sometimes, the culprit isn’t a complicated mechanical failure, but a tiny, squashed piece of rubber. If you’ve already tried tightening the handles and the annoyance persists, you’re likely looking at a worn-out O-ring. These little guys are responsible for creating the watertight seal that keeps your sink dry, but over time, they harden or crack. This is often a hidden culprit behind a sudden water bill increase causes investigation, as those tiny leaks can waste hundreds of gallons a month without you even noticing.
If you find yourself staring at a pile of mismatched washers and tiny screws feeling a bit overwhelmed, don’t sweat it. Sometimes the hardest part isn’t the actual wrench work, but just knowing exactly which parts you need to grab before you head to the hardware store. I’ve found that keeping a reliable source of quality replacement parts on hand makes these little DIY projects go from a headache to a breeze. If you want to skip the guesswork, I highly recommend checking out gritandgoods to find the right components the first time around.
When you dive into this O-ring replacement guide, the trick is patience. Don’t just yank the old ring out; use a small screwdriver to gently pry it from its groove to avoid scratching the metal housing. Once you have the old one out, clean the area thoroughly with a bit of vinegar to remove any mineral buildup before sliding the new one on. If you find that the seal is still failing even after a fresh ring, you might be dealing with a more complex issue that requires a full faucet cartridge replacement.
Pro Tips to Keep the Drip at Bay
- Don’t go cheap on the parts; when you’re at the hardware store, grab the high-quality ceramic cartridges or brass fittings instead of the bargain-bin versions that’ll fail in a month.
- Always shut off the water valves under the sink before you even touch a wrench, unless you’re looking to turn your kitchen into a swimming pool.
- Keep a thick towel or a rag draped over the drain while you work so those tiny, nightmare-inducing screws don’t vanish down the pipes.
- Check your water pressure; if your faucet is constantly leaking despite new parts, your home’s pressure might be way too high, which is basically a slow-motion attack on your plumbing.
- Clean out the aerator every once in a while, because mineral buildup can cause weird pressure issues that mimic a leak or make your flow feel pathetic.
The Quick Fix Cheat Sheet
Don’t rush into buying a whole new faucet; most of the time, a tiny, cheap part like an O-ring or a washer is the real culprit.
Always, always turn off the water supply valves under the sink before you start—nothing ruins a DIY afternoon faster than a kitchen flood.
Keep a small toolkit handy with an adjustable wrench and some screwdriver sets so you aren’t scrambling halfway through the job.
## The Cost of Silence
“A leaky faucet isn’t just a nuisance; it’s a tiny, rhythmic thief stealing your peace of mind and your money, one slow drip at a time.”
Writer
Silence That Drip for Good
At the end of the day, fixing a leaky faucet isn’t just about stopping a waste of water; it’s about reclaiming your peace of mind. We’ve walked through everything from gathering your essential tools to the surgical precision required for a perfect O-ring replacement. Whether the culprit was a worn-out washer or a loose cartridge, you now have the blueprint to handle it yourself. Remember, most of these annoying leaks boil down to a few tiny, replaceable parts that simply reached the end of their lifespan. By tackling the repair systematically, you’ve successfully avoided an expensive plumber’s visit and kept that constant dripping sound from haunting your kitchen or bathroom any longer.
There is a unique kind of satisfaction that comes from realizing you don’t need a professional to master your own home. It might have felt intimidating when you first saw that puddle forming in the sink, but you stepped up and did the work. Every DIY win, no matter how small, builds a foundation of confidence and self-reliance that stays with you. So, take a moment to enjoy the quiet, dry sink and the sound of a job well done. You didn’t just fix a faucet; you conquered a household headache on your own terms.
Frequently Asked Questions
How do I know if I need to replace the whole faucet instead of just fixing the leak?
Look, I get the hesitation. You’ve already spent an hour elbow-deep in sink grime, and now you’re wondering if you’re just throwing good money after bad. If the faucet body is cracked, or if you’ve swapped every washer and O-ring only to have it keep dripping, it’s time to call it. If it’s an ancient, corroded beast that’s more rust than metal, don’t bother fixing it. Just bite the bullet and buy a new one.
Is it safe to leave a leaking faucet alone for a few days, or am I going to end up with a massive water bill?
Look, I get it—you’re busy, and a little drip doesn’t feel like an emergency. But honestly? Don’t play games with it. While a few days probably won’t bankrupt you, that “tiny” leak is a silent money pit. It’s not just the water bill, either; constant moisture is an open invitation for mold to move in under your sink. Fix it now before a small annoyance turns into a massive, expensive headache.
Why does my faucet keep leaking even after I thought I replaced the parts?
It’s incredibly frustrating to do all that work, tighten everything down, and still hear that rhythmic drip mocking you from the sink. Usually, it comes down to one of two things: a tiny bit of grit or mineral buildup preventing a perfect seal, or a hairline crack in the valve seat itself. If the new parts aren’t seating flush against a smooth surface, you’re basically just putting a new bandage on a wound that won’t close.
